 Wallpaper is the most common finishing material used to decorate walls in residential premises. Wallpaper has many advantages, and has deservedly been recognized as the leader in this market segment for many years. And there is nothing to say about the variety of types of wallpaper – here, as they say, everyone will find a product to their taste. There are important features of wallpaper installation that are no less important than the process of gluing them. The most important, of course, is the preparation of the walls. Preparing the walls is important because if this type of work is done incorrectly, the entire subsequent process of gluing the wallpaper will not give a quality result. As a result, time and money will be wasted.
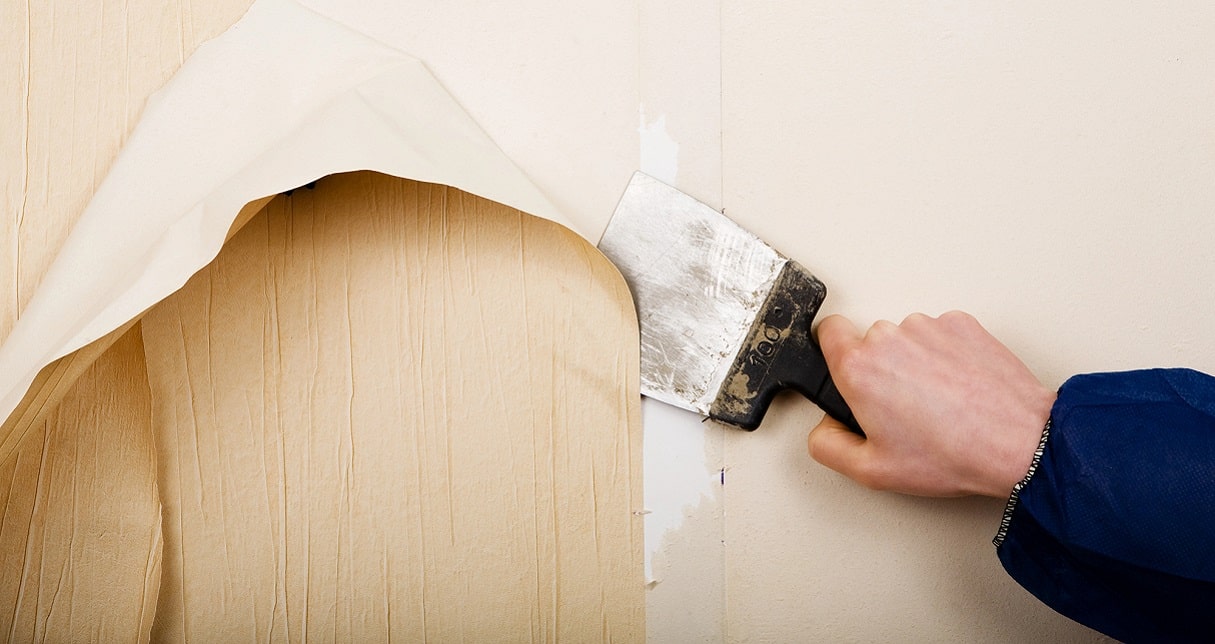
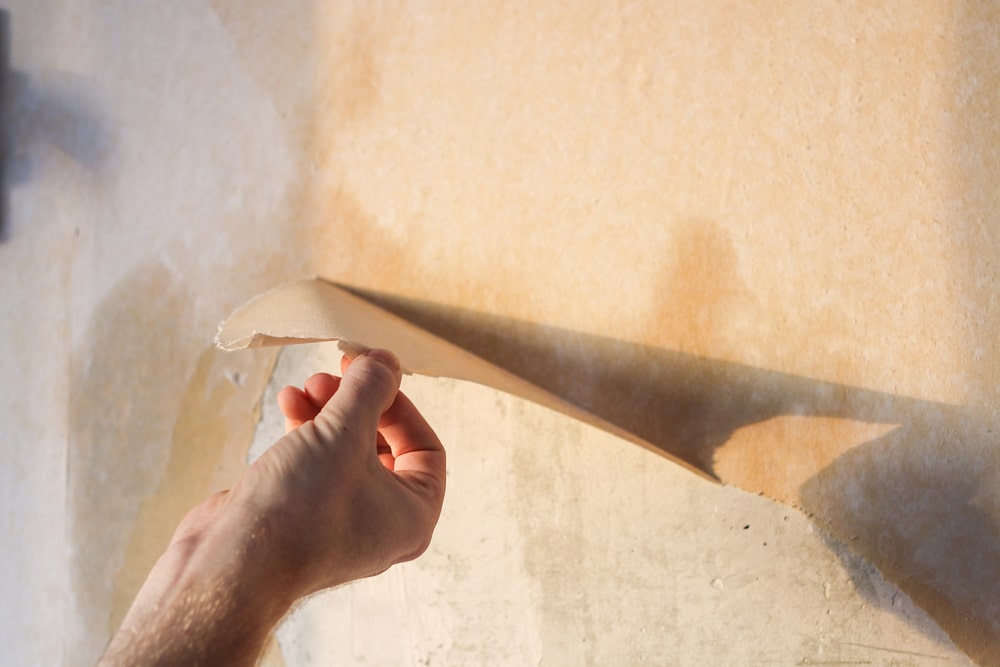
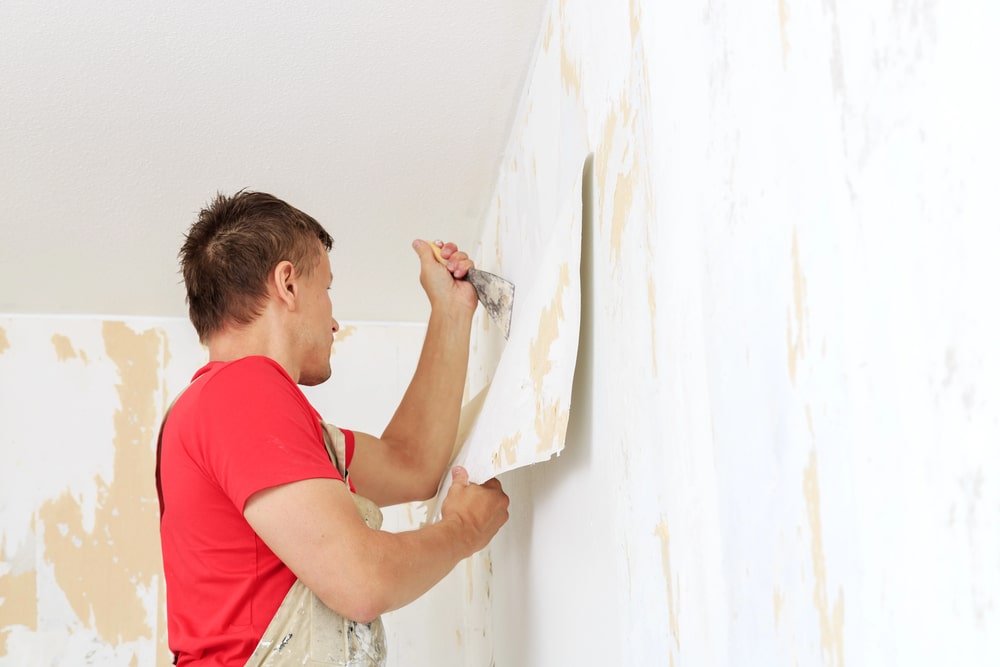
Walls with old wallpaper pasted on
If you already have old wallpaper pasted on, it must be removed. Sometimes, especially if we are talking about old paper wallpaper, it is enough to simply pry it off with a spatula and pull it well. But this is not always the case. Most often, you will have to wet the surface of the old wallpaper with hot water using a roller or sprayer. You can add a soap solution, vinegar or wallpaper glue to the water – these substances help speed up the peeling process. The wallpaper should be completely soaked in this solution and left for some time. After this, the wallpaper is removed using a metal spatula. The process is accelerated by making cuts with a mock-up knife along the entire length of the wallpaper, through which the solution gets inside better. This process should be completed by completely removing the old wallpaper – nothing should remain on the wall.
Walls painted with old paint
Walls painted with old paint, especially chalk-based, with cracks and falling pieces, are of course not suitable for pasting wallpaper. All old paint must be removed. If it is a thin layer applied to chalk whitewash, then it can simply be washed off using a brush and soapy water. With a thicker layer, as in the case of old wallpaper, a spatula will come in handy again. If the wall is covered with enamel based on organic solvents, a special wash may be needed. When working with the wash liquid, you must be especially careful and use rubber gloves, a respirator and safety glasses. The composition is applied to the old paint and then removed with a spatula. In this type of work, a building hair dryer will not be superfluous, since the heated paint layer is removed much easier. There are also special attachments for a hammer drill that are used to remove old paint.
 After removing old wallpaper or paint, your further actions depend on the condition of the walls. You need to pay close attention to their evenness, the presence of cracks, potholes and the strength of the top layer of the surface. In any case, walls that have been under a layer of old wallpaper and paint for many years must be primed with a special primer containing antimicrobial, antifungal, anti-mold additives. The primer plays a binding role, it strengthens the surface layer of the wall, preventing the peeling of concrete and plaster particles and slows down the absorption of moisture by the wall, and also increases the adhesive capacity, which is very important when gluing wallpaper. The primer is usually applied to the walls with a roller or a wide brush. The primer is selected for the material from which the walls are made, or a universal acrylic primer is used. This primer can be used for plastered, concrete, wooden surfaces, as well as chipboard and fiberboard. It dries quickly and is odorless. Deep penetration primer is used where additional strengthening of walls is required. It penetrates especially deep into the wall up to 2-3 cm, while strengthening its surface. Such primers are also good protection against mold, fungi and microorganisms. If necessary, namely when the primer is absorbed almost instantly, it is applied in two layers.
If the wall is in satisfactory condition, then a little puttying is usually required, if there are only small cracks and irregularities in it. The putty surface is primed again and after drying is ready for further work on gluing wallpaper.
Important! When preparing walls for gluing wallpaper, after removing old wallpaper or paint, it is necessary to dismantle all sockets, switches and door frames and baseboards.
Uneven walls
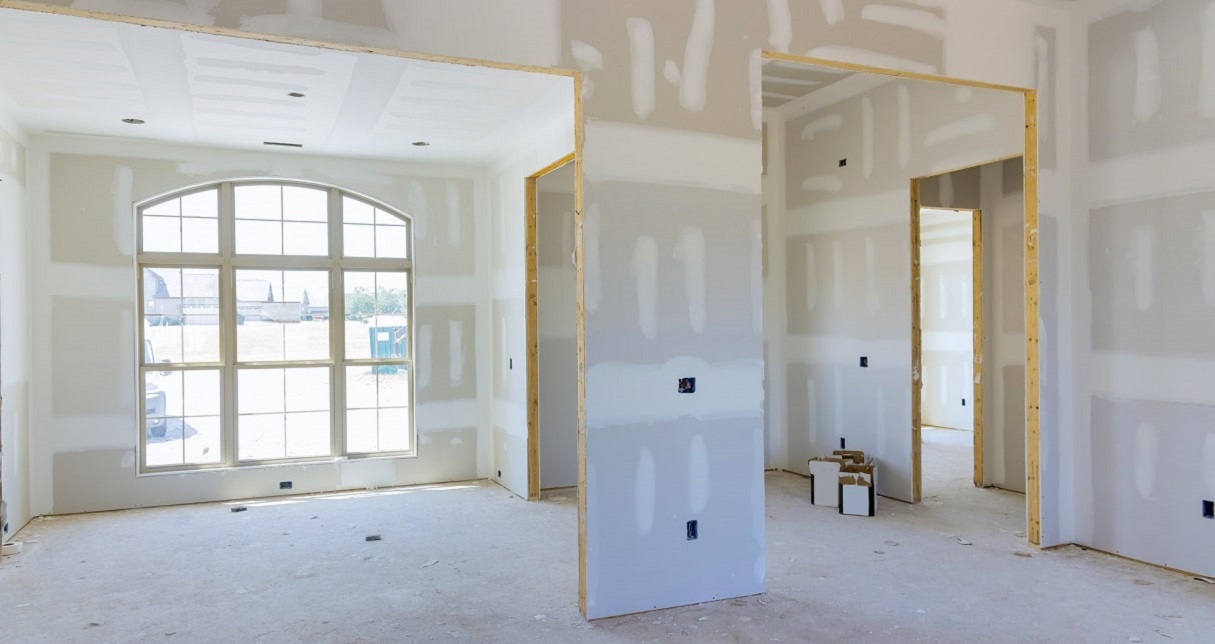
If after removing old wallpaper or paint it is clear that the walls are far from ideal, then you need to understand that in order to get the ideal appearance of future wallpaper, you will have to carry out a more serious set of works. When determining the evenness of walls, do not rely on your eye – use a plumb line or level. There are two relatively simple ways to level concrete or plastered walls: plastering on beacons and plasterboard cladding.
Sand-cement plaster is most often used for brick walls, and gypsum plaster is used for concrete walls that have not yet been plastered.
After completing these works, the surface of the walls is puttied. Putty makes the plastered walls less porous and rough, that is, smoother, which has a very good effect on the quality of gluing wallpaper. The finishing layer of putty is applied in a thin layer to avoid cracking.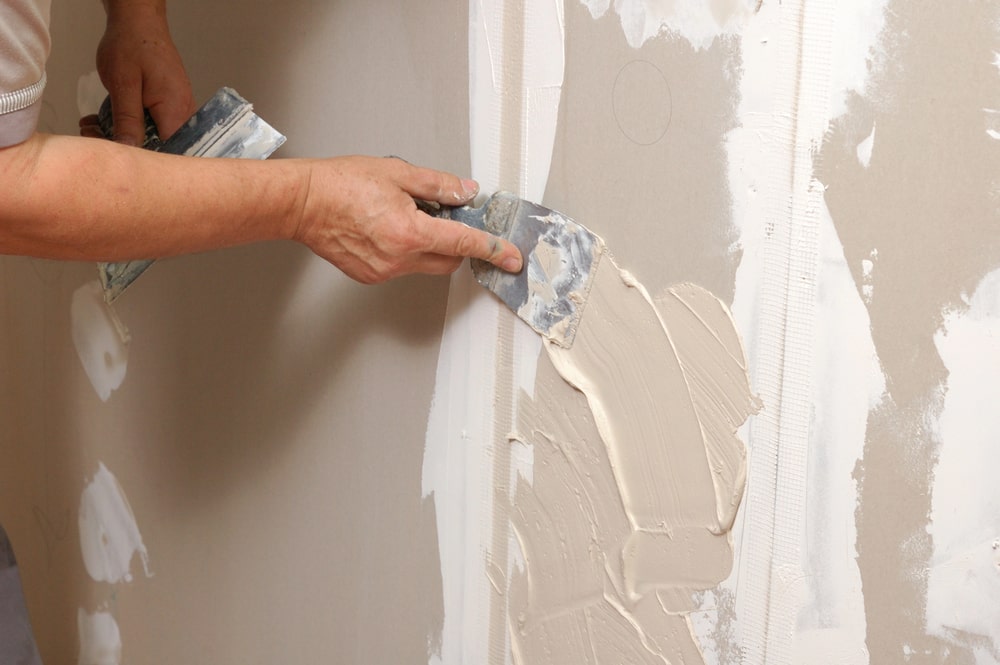
Next, the surface of the walls is sanded and primed. In this form, it is already prepared for gluing. It should be noted that with such an initial state of the walls, it often makes sense to contact professionals, especially if you do not have experience in this type of work.
Walls made of chipboard and fibreboard
Walls made of these materials are primed with special alkyd primers or alkyd paint. For chipboard, the seams between the sheets are filled and covered with reinforcing tape, then the entire wall surface is filled. Chipboard, as a more textured material, requires careful filling. Fibreboard is a smooth material and it is necessary to fill it only at the joints of the sheets and you can limit yourself to one primer.
Preparing the walls for wallpapering is very important and largely determines the quality and durability of the upcoming finishing. This stage of work should be taken very seriously.
continue reading